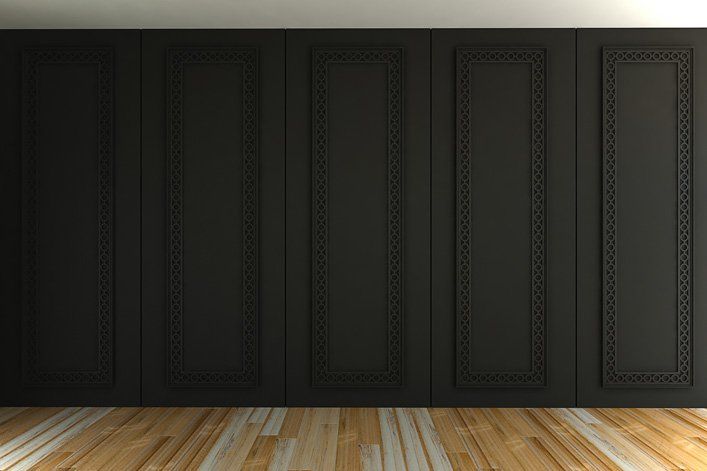
Paneling Products
Panel Center
offers a variety of Pre-finished Trim Paneling
and Bending Plywood's for your commercial, residential, or industrial needs. Stop by our location or call us to speak with an expert today!
Paneling Manufacturers Include


Plywood & Sheet Goods Include:

Wall Panels
Wall panels can reduce construction costs by providing a consistent appearance to the paneled surface without requiring the application of paint or another finishing material.
Panel Center in Columbus Ohio knows that wall mounted to wood panels can affect the feel of an entire room. The wood panels in Columbus Ohio we have available are intended to allow you to use designer wood panels and create the look and feel that is unique to your taste.
Benefits of Paneling
Uses of Paneling
Installing Wall Panels
Wall panels can be a Do-It-Yourself project that many people enjoy accomplishing. If you feel lie you need some help, the experts at Panel Center will be happy to answer any questions you may have .
Prepare Wall
- Measure the length and width of the wall to be paneled. Most paneling is sold in 8- by 4-foot sheets. Calculate how many panels you will need and contact panel Center to place your order.
- Using a pry bar, remove all excess molding and trim around the work area of the wall. Take care not to damage these materials as they can be used again after the panel has been put in place.
- Remove all vents and electrical outlets.
- Find and mark all of the wall studs using a stud finder. Studs are located approximately every 24 to 48 inches.
- Loosely place the panels on the wall to make sure they fit properly. There should be 1/4 inch gap between the top of the panel and the ceiling as well as at the base. Keep about 1/8 of an inch of distance on the boards closests to the wall. This should allow the wood plenty of space for natural expansion
Installing Panels
- Dot the back of each paneling section with beads of wood glue. Put glue patches 5 inches apart.
- Secure each panel with a 1-inch nail into both the top and bottom edge of the panel.
- Push in on each plank with your hands to make sure it is adhering to the wall.
- Finish the installation by hammering 1-inch nails every 12 inches on the edges.
- Put a nail every 16 inches across and down of each remaining panel.
- Vertically cut the last panel to fit in the excess space by measure the space to the wall and subtract 1/8 of an inch from the edge.
- Turn the panel over and cut to provide a smoother cut to match the needed width.
- Replace all vents and electrical outlets removed earlier.
- Fit the molding and trim back along the floor, ceiling, windows and doors as needed.